Sermoon D1 Dual Z-Rod Tensioner
One of the very few things that I remember from 2nd grade is a coloring book assignment my teacher Mr. Barringer printed out for us. The book was supposed to depict what it would be like living in the future, featuring various “high-tech” gadgets and items, one of those items being a 3D printer. Printers nowadays aren’t quite at the pace that I expected them to be (I remember thinking how cool it’d be to be able to instantly make objects materialize), but after finding out how mainstream and affordable 3D printers have become I decided to dive in headfirst.
The printer I have is the Sermoon D1. I had little to no knowledge regarding the hobby when I purchased it in 2022, and admittedly the main reason I bought it was because of how sleek it looked with its quarter radius frame extrusions. Little did I know that I’d be spending the next year and a half going through all its flaws in an attempt to match its quality to simlarly priced modern printers (’m looking at you Bambu Labs).
While the claim that the printer has “Dual-Z axis screws” isn’t technically wrong, I found out soon after purchase that both motors are ran in parallel off of the same stepper driver. This has lead to many hours of bed-leveling troubleshooting, as whenever the z-axis moves, there’s a high chance of one side falling out of level and sagging. This means that you can get the bed perfectly trammed yet still have the right side drop at least a milimeter as soon as the print starts, ruining your first layer at best, or destroying your bed once the nozzle crashes into it at worst.
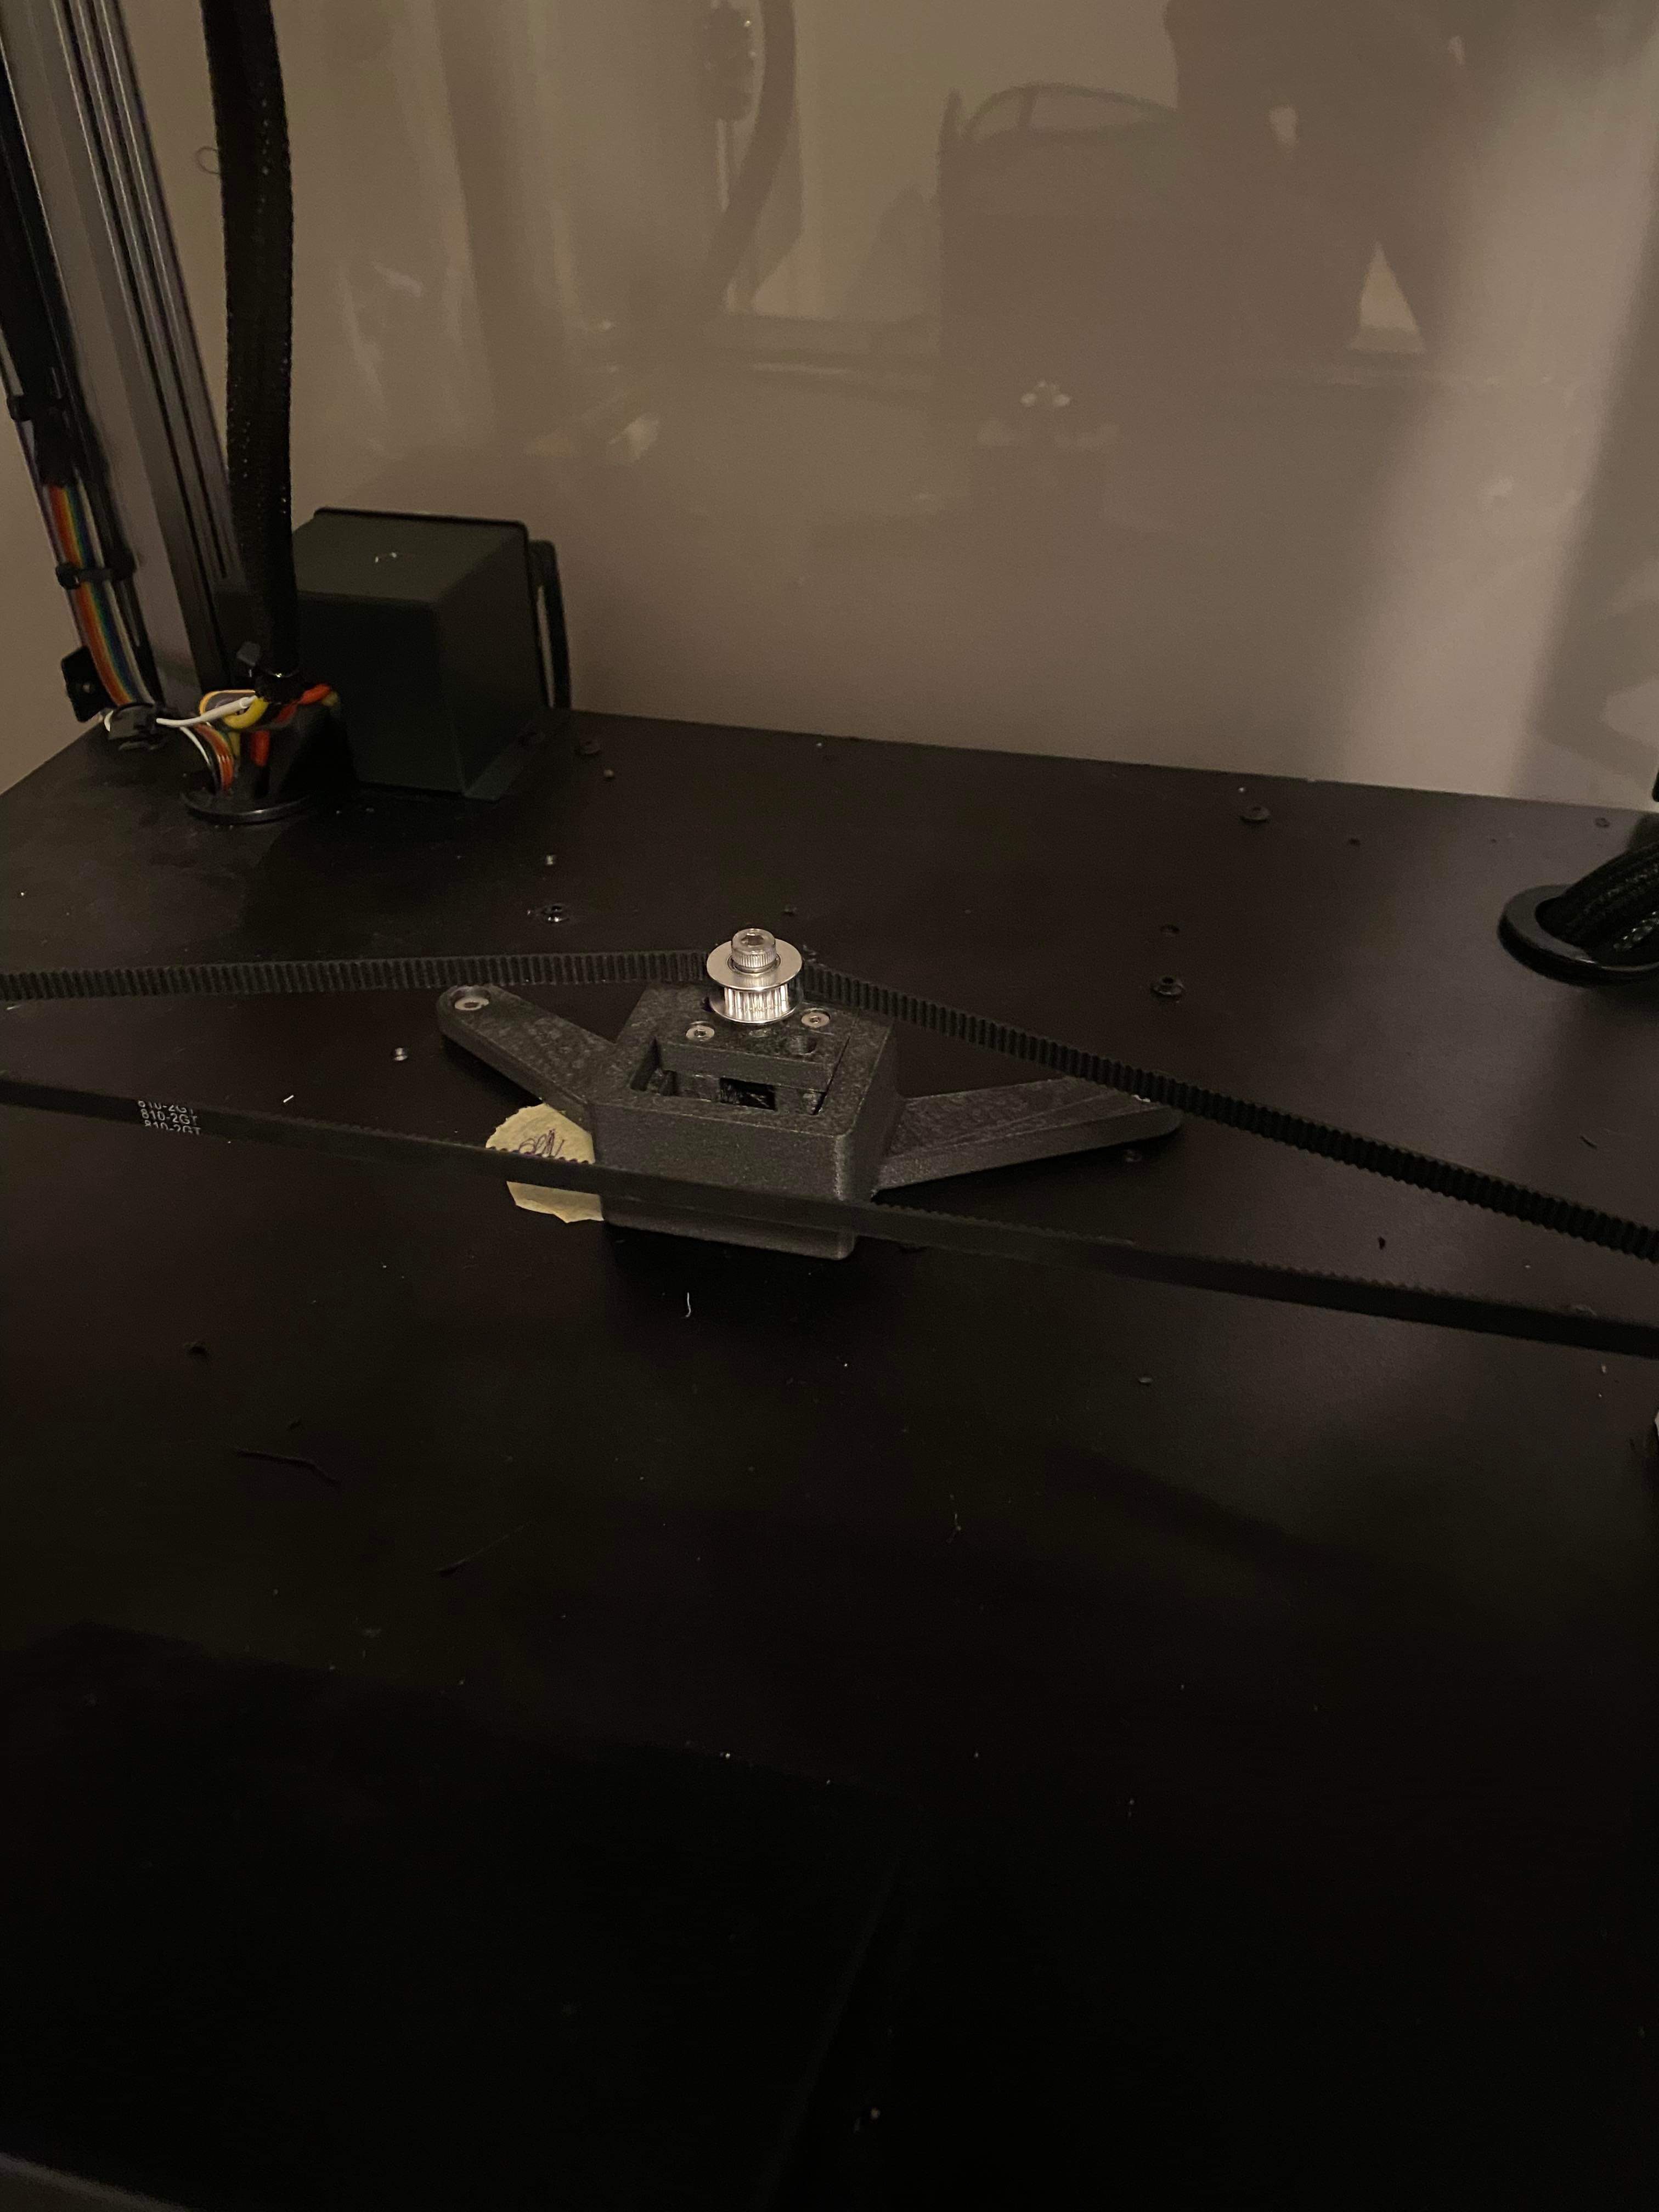
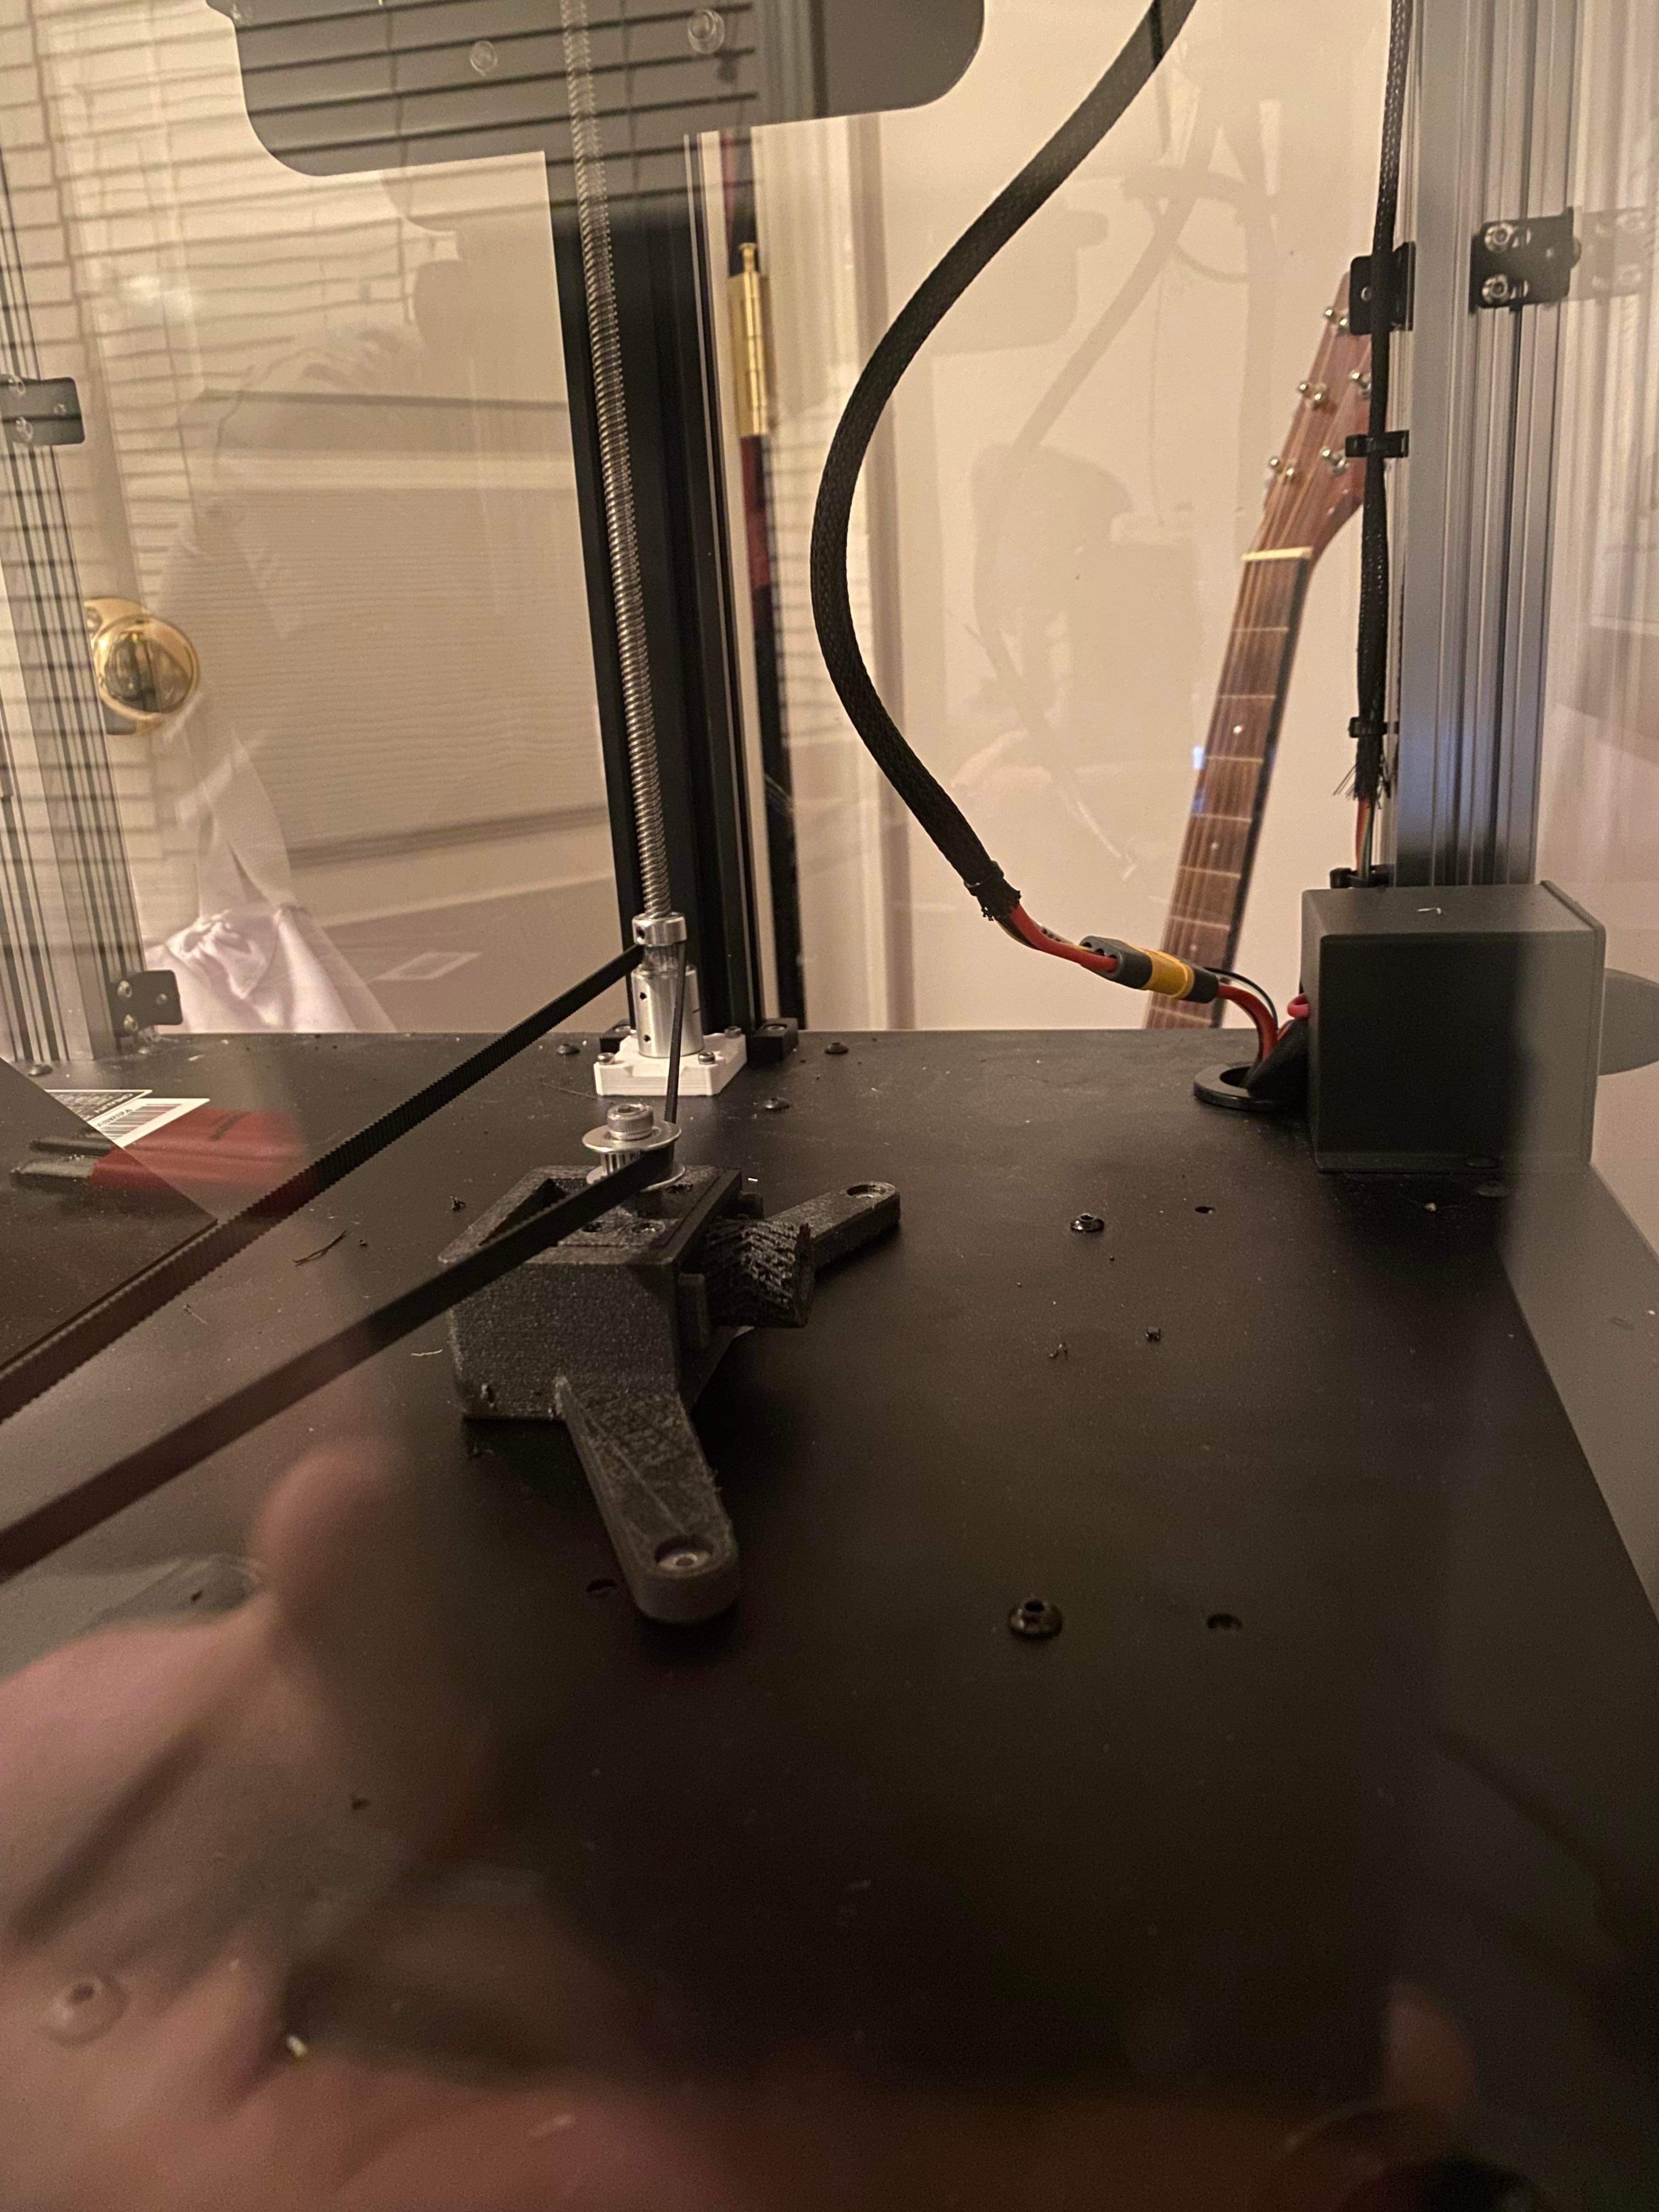
My solution to this is fairly simple, and links both lead screws together at their base using a system of gt2 pulleys.
- The three countersunk holes visible in the base are used to bolt the assembly to the printer-floor.
- One of my goals with this design was to make it as user-friendly as possible. While there was one other tensioner shared within the Sermoon community when I embarked on this adventure, I wasn’t a big fan of using double sided tape to keep it secured to the frame. This design allows one to use metric fasteners that are easy to get ahold of, avoiding the trouble of trying to source special bolts.
- The wide-sliding block features 4 slots on its underside to house captured nuts, with the horizontal hole housing a longer M5 bolt that will be used to adjust the belt tension
- The Upper idler pulley block features 4 countersunk through holes to secure it to the sliding block, along with a standoff for a gt2 pulley to rest on, with space for a captured nut underneath to secure the pulley
- My favorite part is the knurled knob on the back of the housing. This houses a captured nut so that it can thread onto the beefier M5 bolt mounted in the sliding block. I had some issues with this design choice at first, but found that adding a cap helps secure the nut from walking its way out
- Last but not least, there’s the front plate, guided into place with a pair of slots, giving the adjustment knob a place to rest while under tension
While this system does have some drawbacks, mainly the loss of about 10 milimeters worth of build height, the results with it installed are night and day. the function exceeded my expectations, and I’m managed to make something that looks as good as the printer itself.
Here’s a couple of photos from the first test-fit to make sure all my hole locations lined up
 |
 |
|---|